How to Make Dried Orange Slices
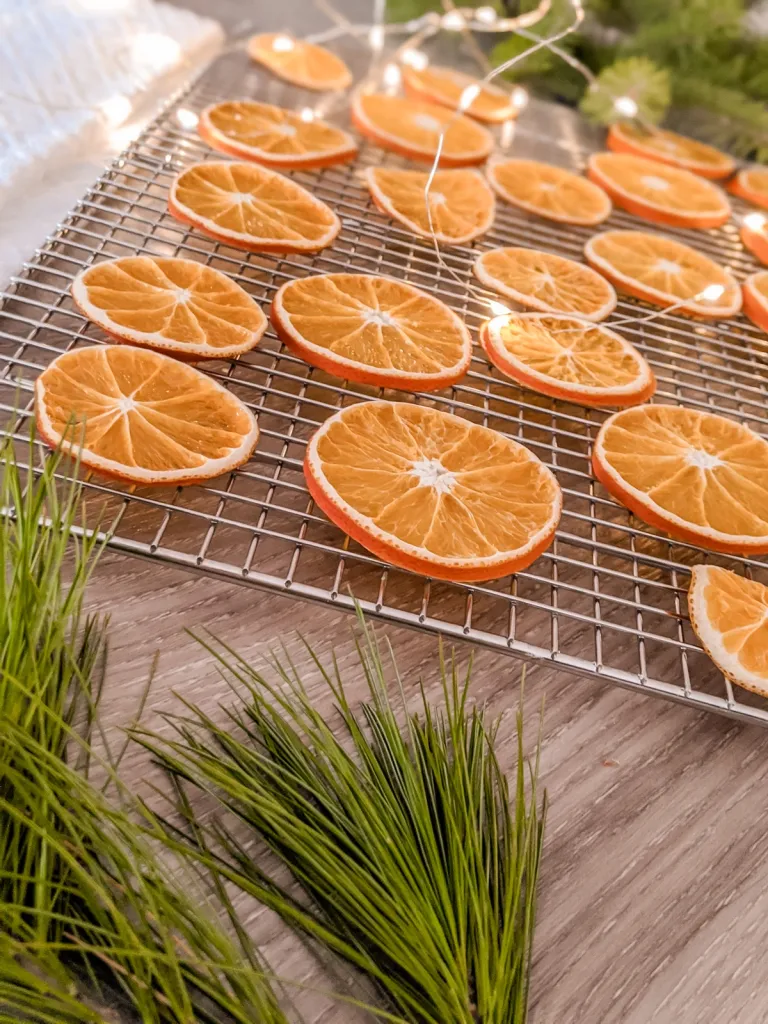
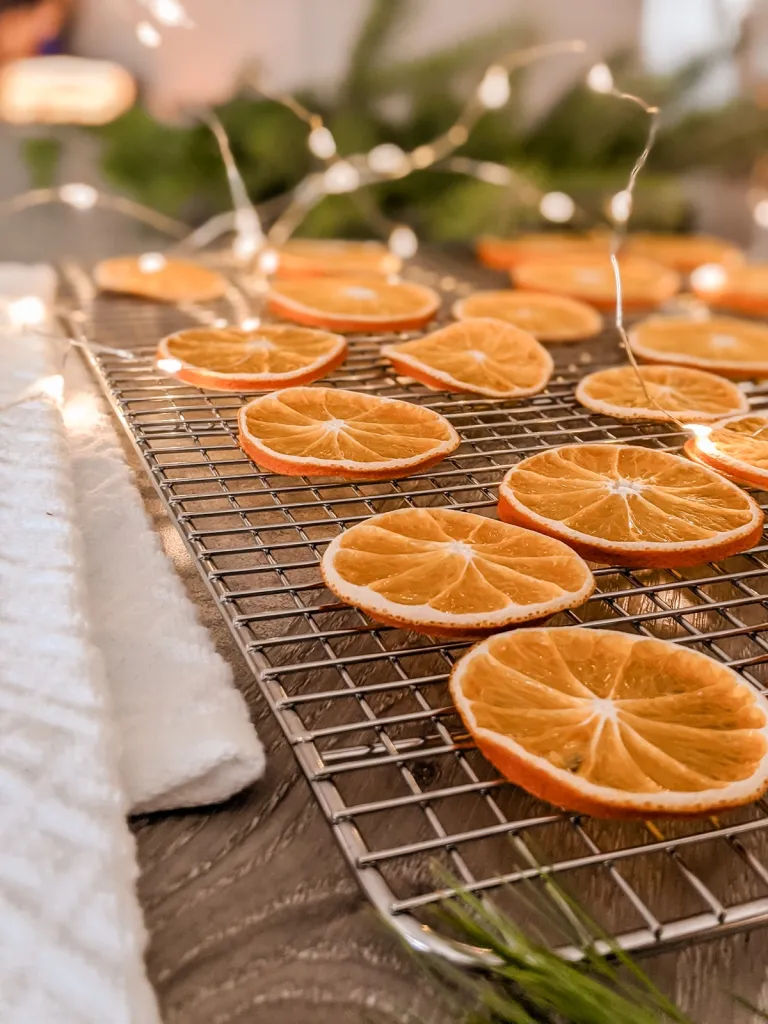
What feels more festive than a beautiful orange garland paired with fresh pine at Christmas? Dried orange slices add instant charm to your holiday decor. They bring lovely texture and a bright pop of color that looks stunning against deep green Christmas decorations.
The best part? These dried orange slices are incredibly easy to make. If you love simple DIY projects, this one is perfect for you. All you need are a few oranges, a baking sheet or oven-safe rack, and a little patience.
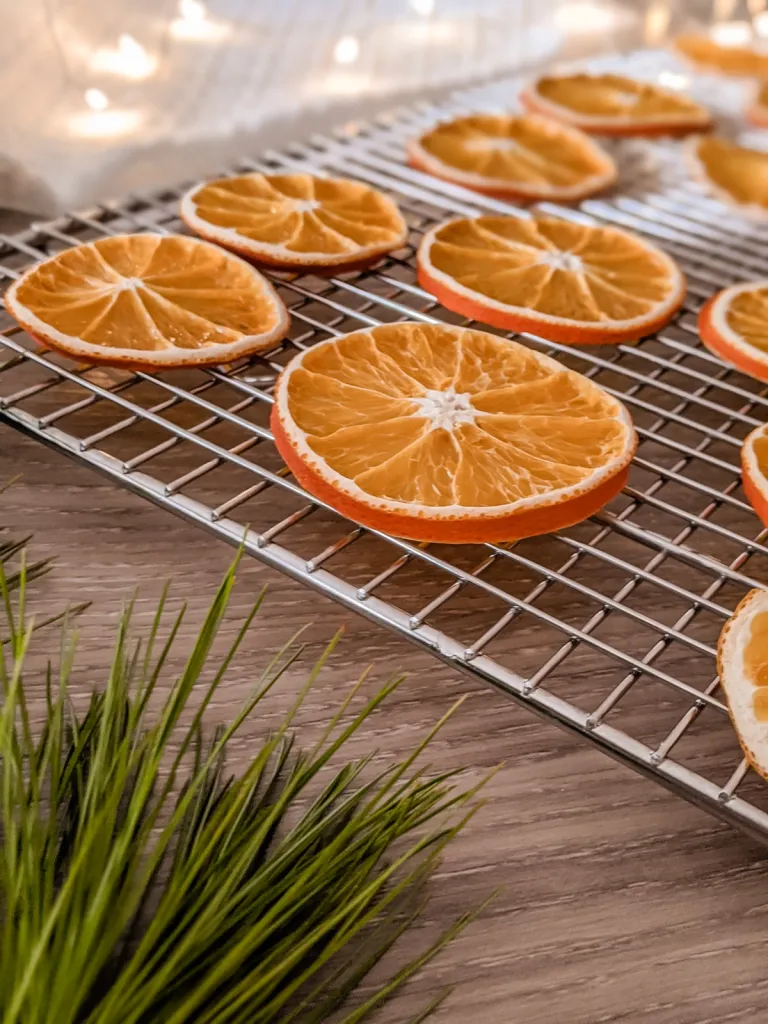
I used an oven-safe cooling rack, but you can easily skip it. A cookie sheet lined with parchment paper works just fine. After testing different methods, I noticed that higher oven heat often burns the edges. To avoid that, I recommend using low heat and a longer drying time. This keeps the color bright and prevents browning.
Types of Oranges to Use
Start by choosing your oranges. When sliced about 1/8-inch thick, two oranges can make around 20–25 slices, which is enough for a 9-foot orange garland.
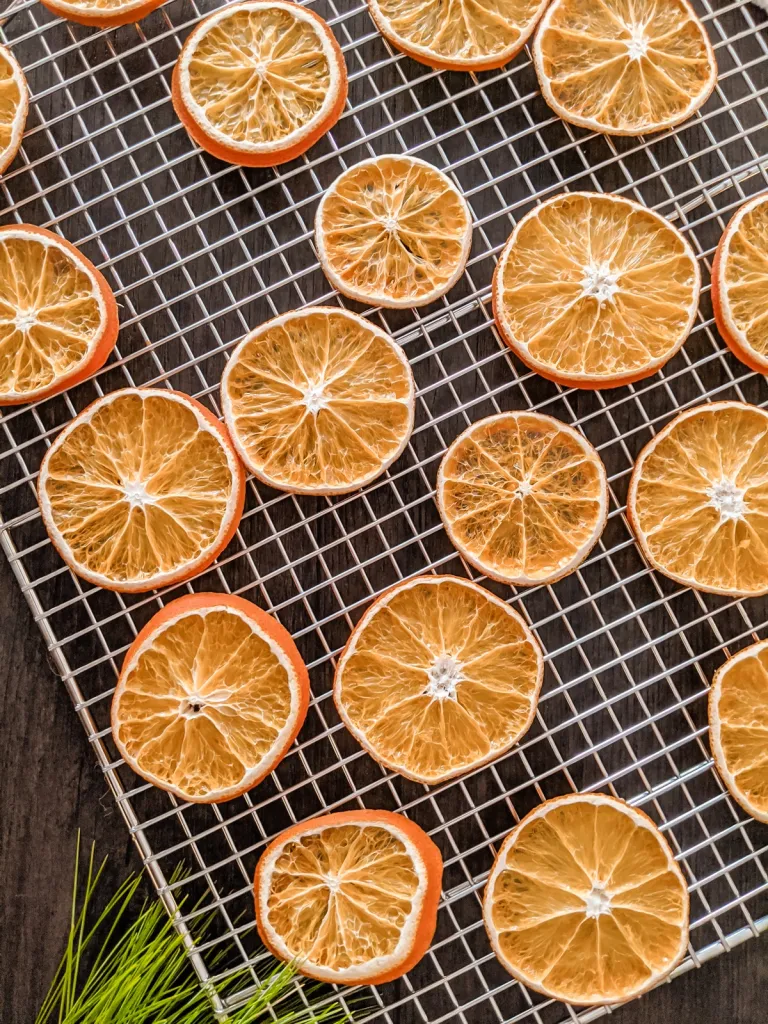
I used navel oranges since I didn’t need many. They work great for holiday decor, floral displays, and gift wrapping. Once sliced, lay the oranges flat on your baking rack or parchment-lined baking sheet.
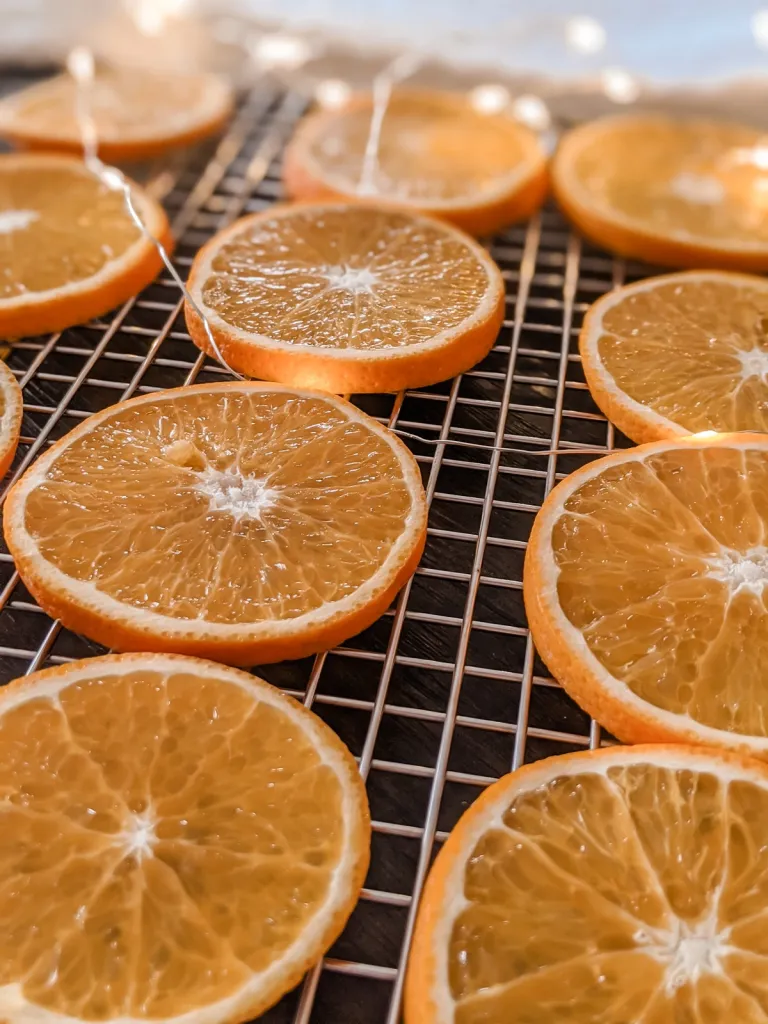
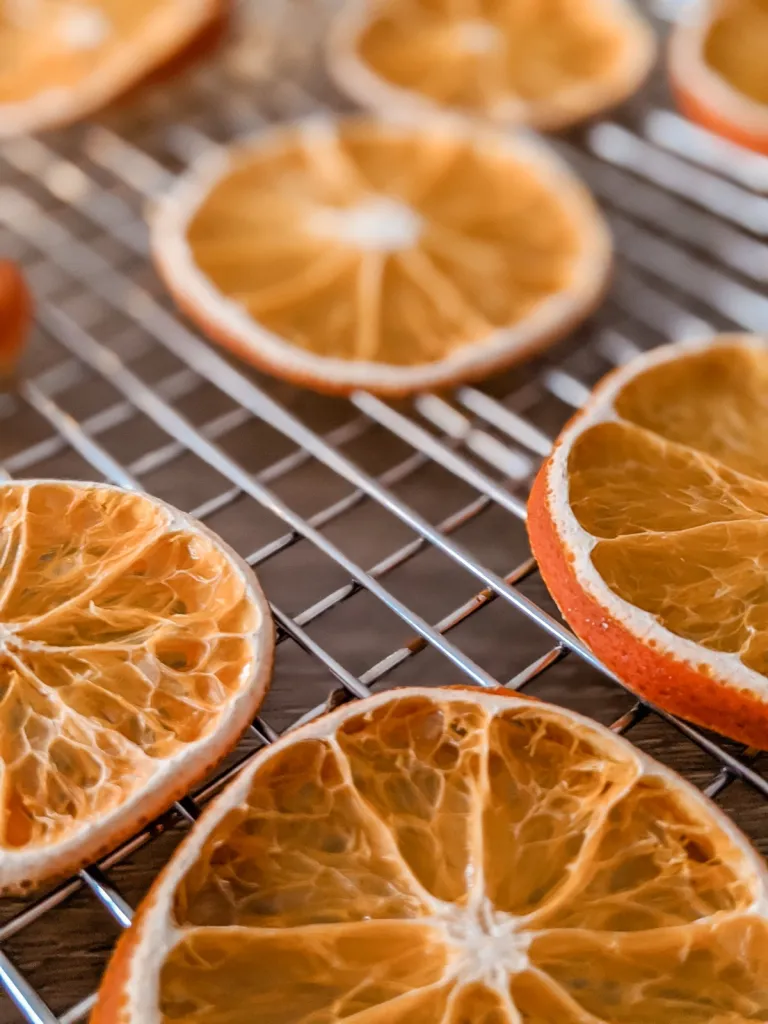
Bake them at 200°F for 5–6 hours. This low-temperature method takes about an hour longer than higher-heat methods, but it’s worth it. The slices dry evenly without burning and keep their beautiful orange color.
When done, the dried orange slices should feel firm and dry, with just a slight stickiness in the center. They’re perfect for decorating trees, wreaths, garlands, or gifts.
This is a fun and creative project, especially to enjoy with kids. I hope you love making these festive dried orange slices as much as I do. If you try it, don’t forget to tag me—I’d love to see your creations!